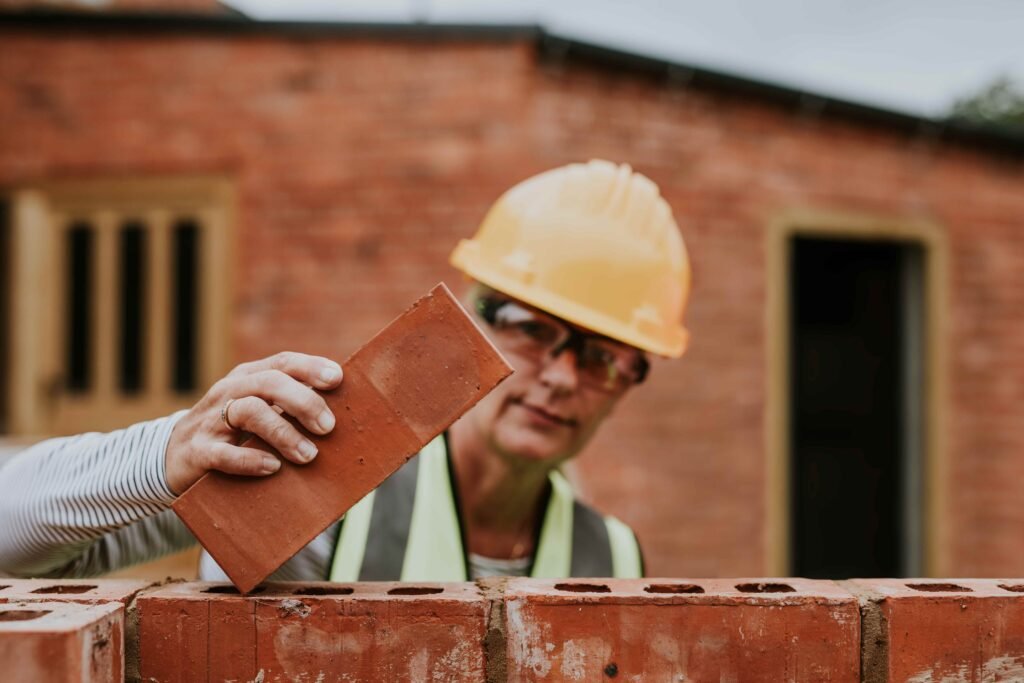
Bricklaying Essential Tools
We may earn money from companies mentioned in this post, but we only recommend brands that we truly love and trust.
Master Masonry: The 7 Essential Tools You Need for Bricklaying Success
Masonry and bricklaying are more than just construction tasks—they’re a blend of precision, artistry, and craftsmanship. Whether you’re a seasoned professional or a DIY enthusiast taking on your first project, having the right tools is vital for efficiency and top-notch results. This comprehensive guide covers the bricklaying process, expert tips, techniques, pros and cons, and answers to frequently asked questions to help you excel in masonry.
The Bricklaying Process: From Planning to Finishing Touches
Mastering the bricklaying process starts with understanding its stages. Here’s a detailed breakdown:
Planning and Preparation
- Measure and Mark: Determine the dimensions of your project. Use chalk lines or stakes and string to outline straight lines and ensure accuracy.
- Gather Materials: Calculate the number of bricks and mortar needed. Always allow for a surplus to account for cuts or errors.
- Prepare the Base: Establish a solid foundation, such as a properly leveled concrete footing, to support the structure’s weight.
Mixing Mortar
- Use a wheelbarrow or a mortar mixer to combine cement, sand, and water in the ideal ratio (1:3:0.5).
- Mix until the consistency is smooth and paste-like, avoiding overwatering to prevent weakening the mortar.
Laying the First Course
- Spread a layer of mortar onto the foundation with a brick trowel.
- Position the first brick and press it gently into the mortar, checking with a spirit level to ensure it’s even.
- Continue laying bricks along the guideline, applying mortar between each one and tapping them into place securely.
Building the Wall
- Stagger joints with each new row for added strength.
- Use a string line to maintain straight and level courses.
- Spread mortar evenly on the top and ends of each brick before placing it.
Finishing Touches
- Use a jointing tool to smooth and shape the mortar joints, enhancing appearance and weather resistance.
- Clean away excess mortar with a brush or trowel.
- Allow the mortar to cure fully before applying loads or finishes.

7 Must-Have Tools for Masonry
The right tools make all the difference in achieving professional results. Here are the essentials:
1. Brick Trowel
- Purpose: Spreading and shaping mortar.
- Pros: Versatile, available in various sizes.
- Cons: High-quality options can be pricey.
2. Masonry Hammer
- Purpose: Breaking and cutting bricks with precision.
- Pros: Durable and effective.
- Cons: Requires practice to master.
3. Jointing Tool
- Purpose: Smoothing mortar joints for a clean finish.
- Pros: Improves appearance and durability.
- Cons: Limited to joint finishing tasks.
4. Spirit Level
- Purpose: Ensuring bricks are level and plumb.
- Pros: Accurate and simple to use.
- Cons: Can be delicate if dropped.
5. Mortar Mixer
- Purpose: Efficiently mixing mortar to the right consistency.
- Pros: Saves time and ensures uniformity.
- Cons: Requires thorough cleaning after use.
6. Brick Jointer
- Purpose: Crafting clean, concave joints for a polished appearance.
- Pros: Enhances weather resistance.
- Cons: Takes skill to use effectively.
7. Wheelbarrow
- Purpose: Transporting heavy materials with ease.
- Pros: Reduces physical strain.
- Cons: Needs ample storage space.
Expert Techniques for Superior Masonry Work
1. Start with a Solid Foundation
Ensure the base is level and fully cured before you begin brickwork.
2. Perfect the Mortar Consistency
Mortar should be firm enough to hold bricks securely but pliable for easy spreading.
3. Use a String Line for Straightness
Check alignment regularly to maintain even courses and avoid structural issues.
4. Stagger the Joints
Lay bricks in a running bond pattern to strengthen the wall and distribute load evenly.
5. Clean as You Build
Remove excess mortar promptly to avoid stains and ensure a neat finish.
6. Allow for Expansion
Include expansion joints in larger structures to accommodate thermal movement and prevent cracks.
Pros and Cons of Bricklaying
Advantages
- Durability: Bricks are long-lasting and weather-resistant.
- Aesthetic Appeal: Offers timeless beauty and character.
- Insulation: Great for thermal and sound insulation.
- Low Maintenance: Requires minimal upkeep.
Disadvantages
- Labor-Intensive: Requires physical effort and time.
- Skill-Dependent: Achieving a professional finish takes experience.
- Material Costs: High-quality bricks and mortar can be expensive.
- Weather Restrictions: Extreme conditions may delay or impact work.
Frequently Asked Questions
How long does it take for mortar to dry?
Mortar sets in 24-48 hours but takes up to 28 days to fully cure.
Can I lay bricks in the rain?
No, rain dilutes mortar and weakens the bond.
How can I prevent mortar from cracking?
Ensure proper mixing ratios, avoid overwatering, and include expansion joints.
What type of bricks should I use?
Choose bricks suited to your project: clay bricks for aesthetics, concrete bricks for strength, and fire bricks for heat resistance.
How do I clean mortar off bricks?
Wipe with a stiff brush and water before it hardens. For set mortar, use masonry cleaner.
Do I need a permit for bricklaying projects?
Check with your local building authority for specific permit requirements.
Conclusion
Bricklaying is a rewarding craft that combines skill, precision, and creativity. Armed with the right tools, techniques, and knowledge, you can take on any masonry project with confidence. Whether building a garden wall or tackling a larger structure, this guide equips you with everything needed to master masonry and achieve lasting results. Explore homeprojectsupply.com to find the perfect tools for your next project, and bring your creative vision to life with confidence.
